
TEXT PROJECT
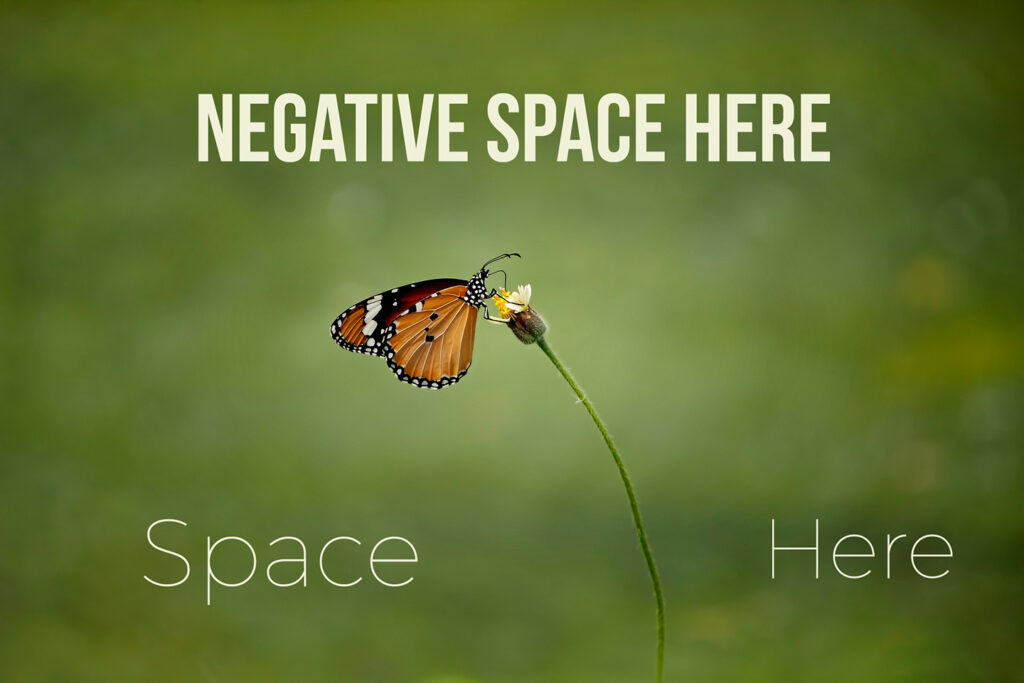
The objective of the Text Project is two fold. One to learn how to add text to an image, and how to leave negative space in a composition for a graphic designer or yourself.
Text fonts, size, kerning, tracking, height, width and layer styles can all be manipulated in Adobe Photoshop. However, the key to this assignment is leaving clean negative space that can balance with the rest of the image. That space needs to be void of texture, and high key elements.
BAD NEGATIVE SPACE
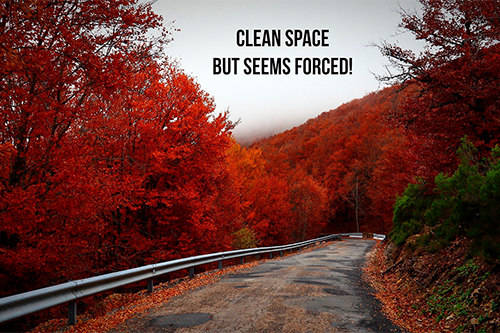
Negative Space To Small
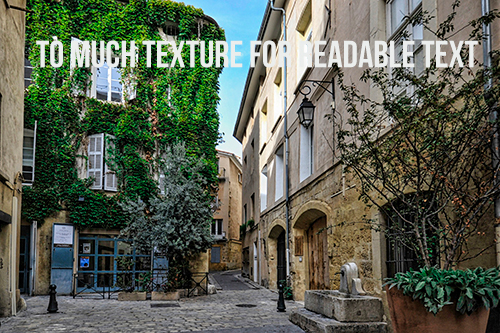
Negative Space To Textured
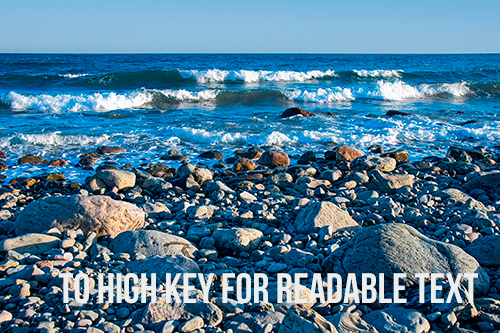
Negative Space High Key
The essential element for toning or editing lies in making selective adjustments, both in Adobe Camera Raw and Adobe Photoshop. The majority of adjustments for image correction often involve these selective modifications. It is advisable to perform most global adjustments in ACR, while selective adjustments can be executed in both locations. For instance, adjustments related to lightness can be handled in Adobe Camera Raw, while color adjustments like Hue/Saturation can be effectively accomplished in Photoshop for the color project.
COLOR PROJECT VIDEOS
SAVING INSTRUCTIONS-For Two Toned Images
- SAVE FOR YOURSELF-save a toned, but not sized image as a .psd for yourself.
- DROPBOX-Save as the modern postcard template size, save layers, use the color profile Adobe RGB (1998), but make sure flatten image is not selected, as a .psd file. Upload to Dropbox this is for grading.
- WORDPRESS-size image to 1440 pixels on the long edge, use sRGB color profile. Add uploaded images to gallery on Color Project Gallery Post