
PORTRAIT RETOUCHING
The objective of the Portrait Retouching is to learn how to professionally retouch an image. We will learn a technique called, “High Frequency Separation.” This process will allow you to separate the detail and color layers. It will allow you to add detail back to your image to make the skin or color layer look realistic.
We will also learn to use all of the spot healing brush, the remove tool, the healing brush, the clone stamp, and the patch tool.
This process is not intuitive, so I have included a downloadable .pdf to follow along.
WHITE BALANCE
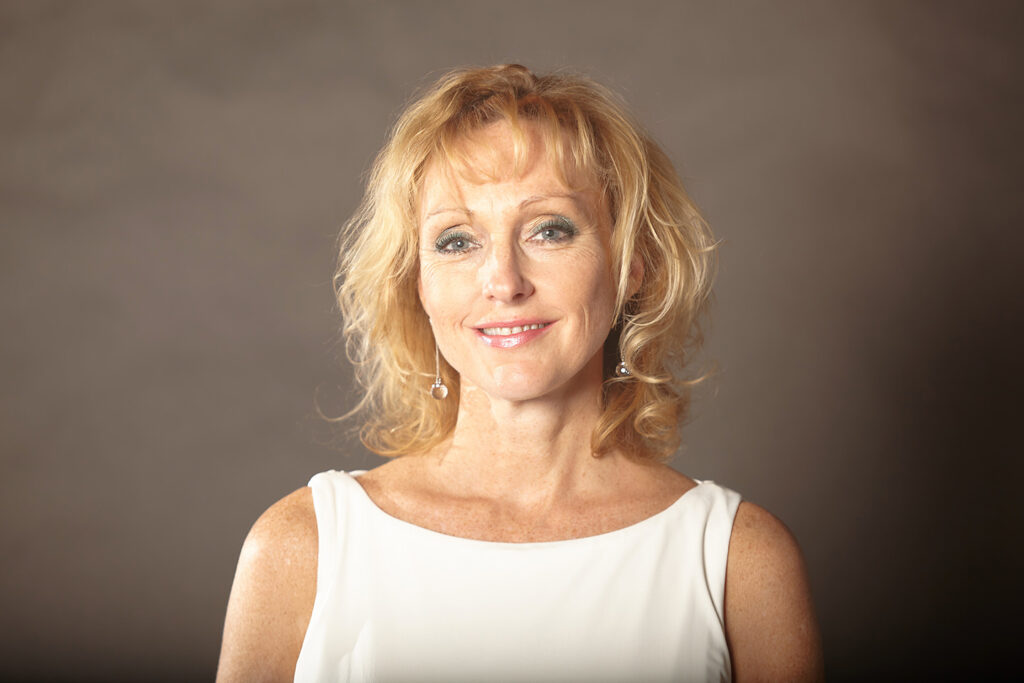
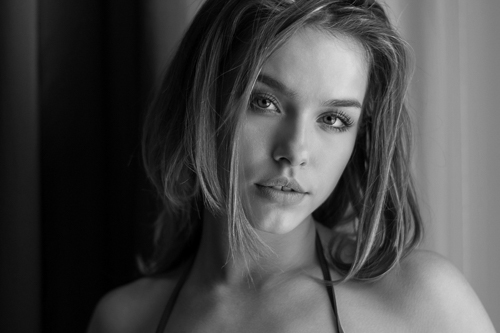
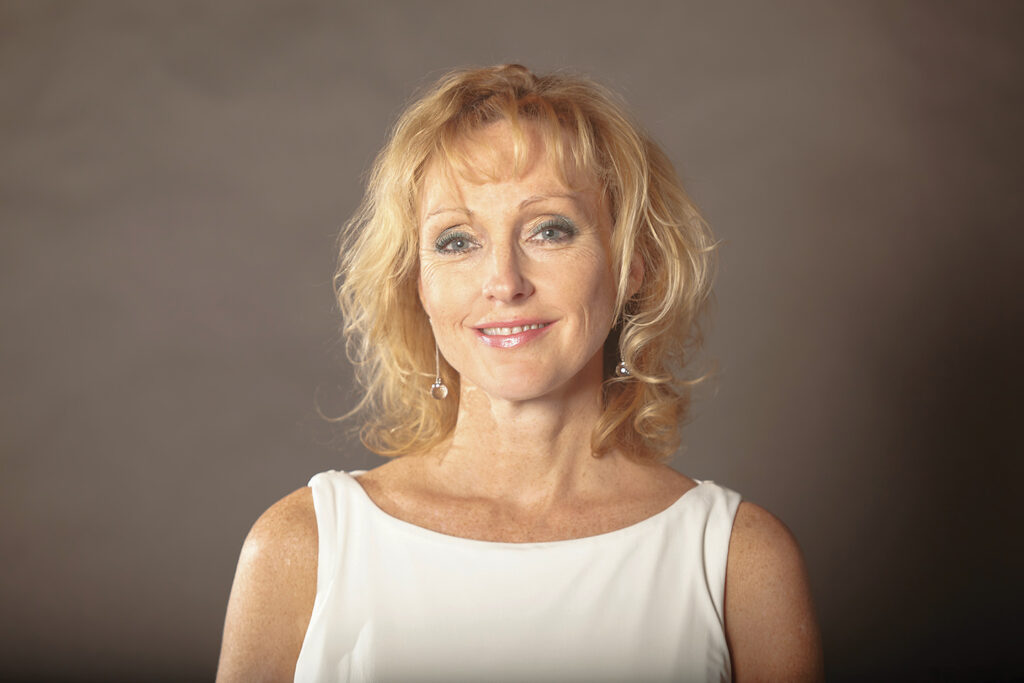
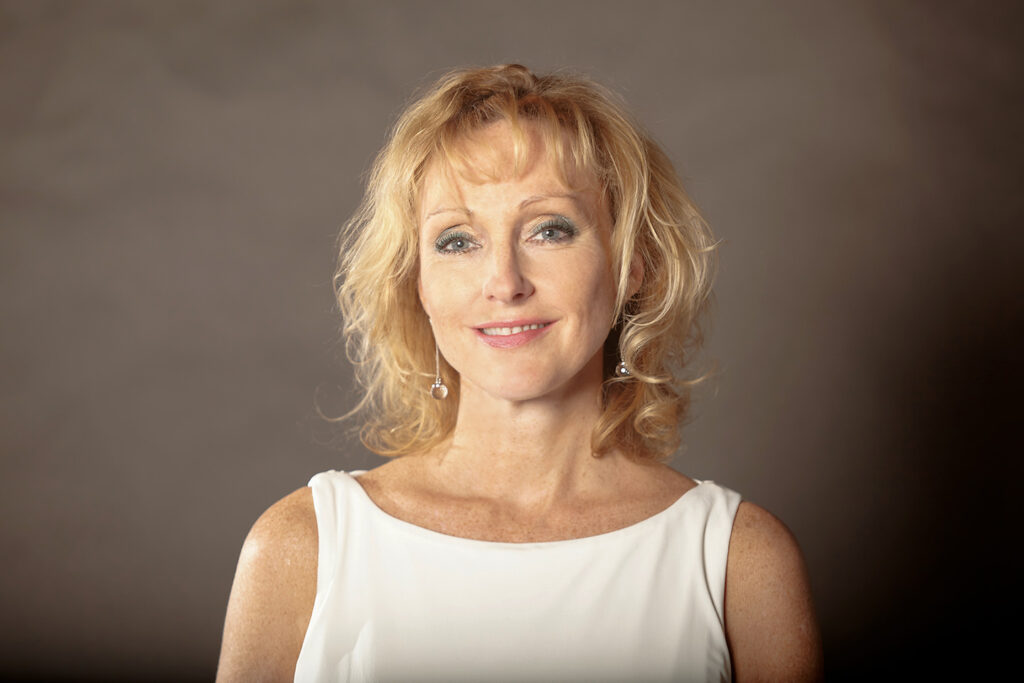
This is a poor over exposed image with harsh highlights on oily skin. This image has not been adjusted.
I will attach the shine, harsh shadows, neck unevenness, color, wrinkles, bags under eyes, and amount of detail I add back to the image.
My first step is to use a skin evenness layer, and fix the shine with the clone stamp at 65%.

The next step is to do some basic retouching. This could be don in frequency separation, but you would need to do it twice. Once in the color layer and once in the detail layer.
This is the finished image with retouching and frequency separation applied to the skin ONLY! I also did some basic toning to finish this image.
RETOUCHING OPTIONS
Retouching an image is easily achieved through Adobe’s Neural Engine. Look for the one on portrait retouching. For those seeking comprehensive control, frequency separation emerges as a superior choice. Various cloning and retouching tools are at my disposal, each excelling in specific tasks. Preferences in tools naturally develop with time and experience.
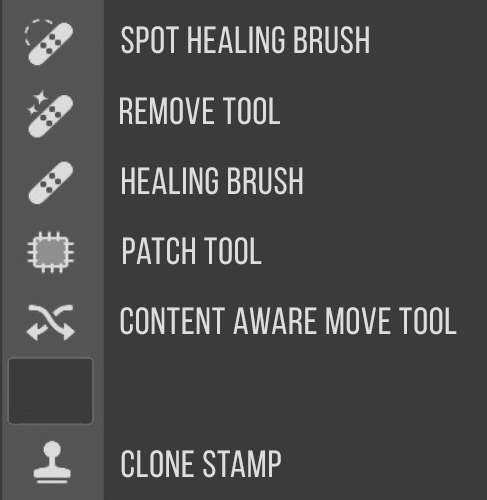
Too the left are the cloning and healing and stamp tools. You can use the lasso tool, but I feel the tools on the right are the most helpful. However, you usually need to use a combination of tools, there is not one that fixes everything.
COLOR PROJECT VIDEOS
SAVING INSTRUCTIONS-For Two Toned Images
- SAVE FOR YOURSELF-save a toned, but not sized image as a .psd for yourself.
- DROPBOX-Save as a 2000 pixel on the long edge, save layers, use the color profile Adobe RGB (1998), but make sure flatten image is NOT selected, as a .psd file. Upload to Dropbox this is for grading.
- WORDPRESS-size image to 1440 pixels on the long edge, use sRGB color profile. Add uploaded images to a gallery to Portrait Retouching Gallery Post.
- We will not be printing this assignment. Images will be critiqued on the Portrait Retouching Gallery Post.